Start with a small, shared purpose
A community art project can be as modest as a collection of illustrated recipe cards, a temporary display of drawings, or a set of painted plant markers for a shared garden. The most useful first question is not “What would look impressive?” but “What would neighbors enjoy making together?” A clear, limited purpose makes it easier for people to join without feeling that they need artistic experience.
In a Central Valley neighborhood, the starting point might be a conversation about familiar landscapes, foods, family traditions, or places where people gather. Keep the invitation open: not everyone will connect with the same symbols or stories. Ask a few neighbors what they would like to share before settling on a theme. Their answers may suggest a simpler and more interesting project than the one you first imagined.
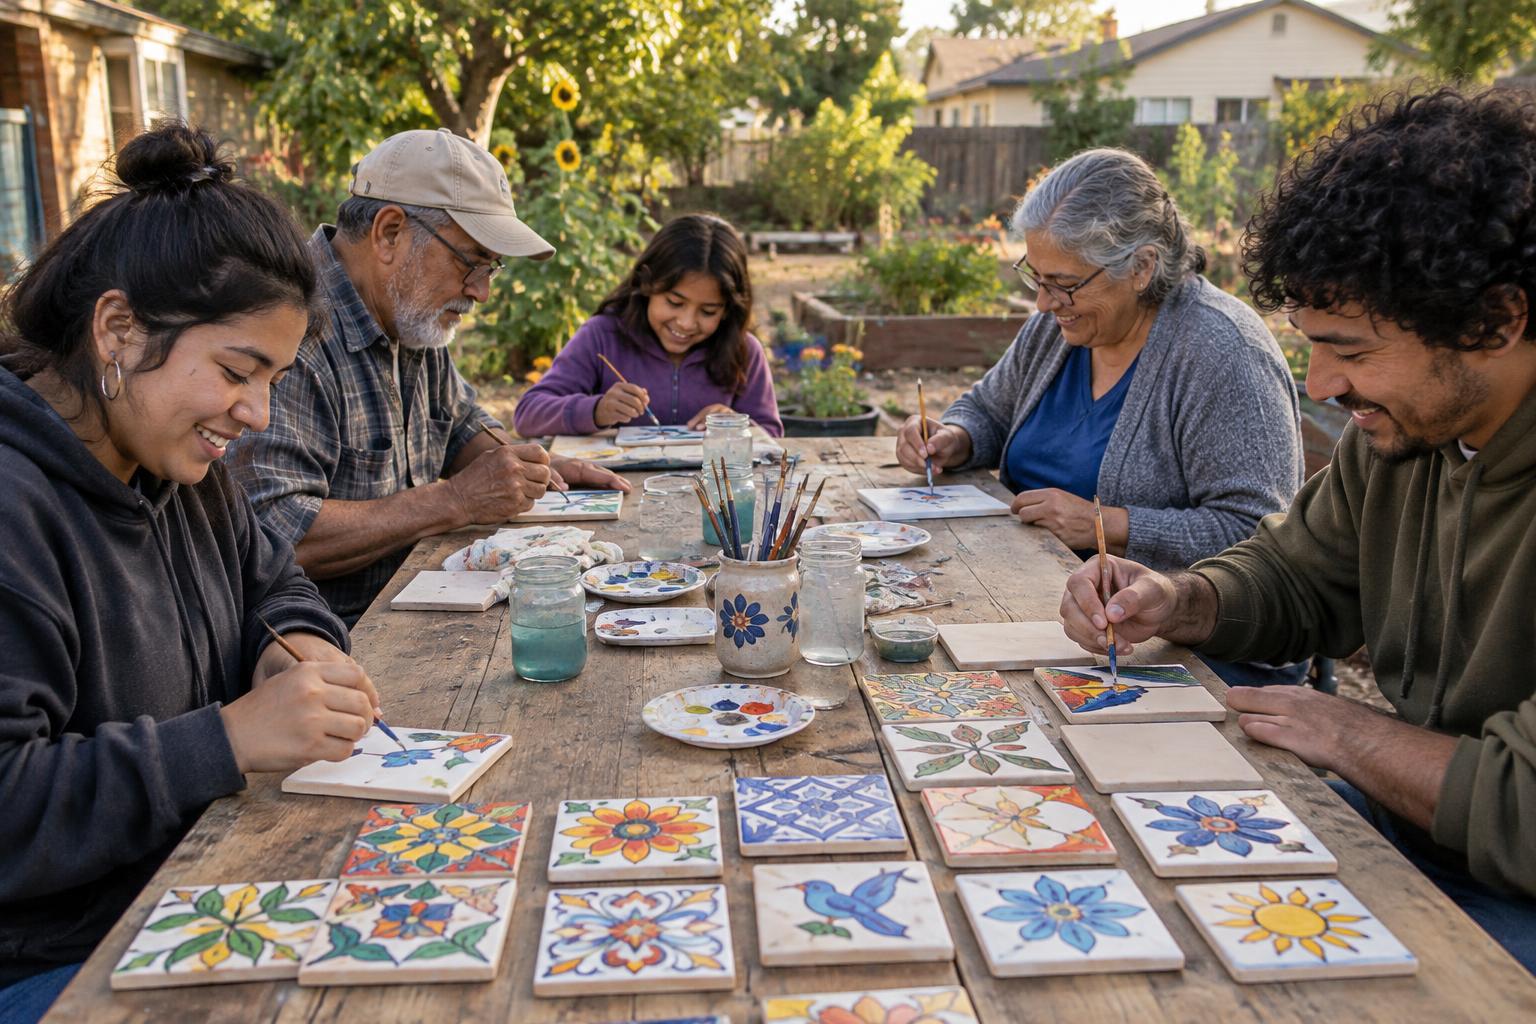
Choose a format that can be completed in one or two sessions. Individual pieces that can be assembled later, such as paper squares for a collage, give people room to participate at their own pace. A small first project also teaches you what your group enjoys before anyone commits to something permanent.
Find a home for the project before buying supplies
Where the work will go affects almost every other decision. A tabletop display in a neighbor’s home, a temporary exhibit at a willing community space, and an outdoor mural each call for different materials and levels of coordination. If you hope to use a shared or public-facing space, ask the person or group responsible for it what is allowed before you announce plans. Do not assume that an available wall, fence, or sidewalk is yours to decorate.
Talk through practical details early: how long the work can stay, who will set it up, whether anything needs to be removed afterward, and where supplies can be stored during a session. For an outdoor gathering, consider shade, drinking water, seating, and a backup plan if conditions are uncomfortable. A portable project that can move indoors may be easier to manage than one tied to a single spot.
Set a modest materials list based on what the project actually needs. Paper, washable markers, tape, and a few tables may be enough for a collaborative display. Ask before collecting donated items so you do not end up with supplies that cannot be used or stored.
Invite participation without making it a test
A welcoming invitation explains what people will do, when and where they can join, and whether materials are provided. It should also make clear that helping does not require drawing or painting. Someone might cut paper, write labels, bring a folding chair, help with setup, or simply offer an idea. Give people a way to contribute a piece ahead of time if they cannot attend the gathering.
Use a few simple ways to reach neighbors rather than relying on a single group chat or social account. A personal conversation and a brief printed note can complement an online invitation. If the project asks people to share memories, names, or photographs, let them decide what they are comfortable making public. Ask permission before posting images of participants or identifying who made a particular piece.
At the event, offer a prompt without insisting that everyone follow it exactly. “Draw a place that feels like home” leaves more room for interpretation than a detailed set of instructions. A few examples can help people begin, but leave space for their own voices.
Make the gathering easy to take part in
Prepare a simple flow for the session: welcome people, explain the project in a minute or two, show where materials are, and let them begin. Put supplies where participants can reach them, with enough room to sit and work. If children are invited, choose materials and tasks that fit the setting and make sure their caregivers know what to expect.
Share the small jobs instead of appointing one person to run everything. One neighbor can greet arrivals, another can watch the supply table, and another can help collect finished pieces. Keep a little time at the end for cleanup and for participants to see what others made. The social part of the gathering matters as much as the final artwork; conversation is often what makes people want to try another project.
Decide what happens after the art is made
Before everyone leaves, explain the next step. If pieces will be assembled or displayed later, say who will do that work and how contributors can see the result. For a temporary display, agree on when it will come down and who will handle removal. For work meant to last, identify who can care for it and what happens if it becomes worn or damaged.
Then keep the follow-up simple. Thank participants, share an image of the finished work only where you have permission to do so, and ask what they enjoyed or would change. A successful first project does not have to grow into a large annual event. It may be enough to give neighbors an afternoon of making something together and an easy way to say hello the next time they meet.